Messy Mac Desktop? 7 Easy Ways to Organize Your Files and Folders
Messy Mac desktop? Use 7 easy ways to organize files and folders with tags, aliases and Stacks, then free up the disk space that clutter wastes.

A messy desktop usually starts with good intentions. You save a file there for a minute, take a few screenshots, drag in an installer, and a week later the wallpaper has disappeared under a pile of icons. Finding the one document you need turns into a hunt, and the pile keeps growing because nobody wants to sort it right now.
The fix does not need a big weekend project. Your Mac already includes folders, tags, aliases and Stacks, and a few habits make them work together. This guide gives you seven simple ways to organize your files and folders, then covers a few tricks to make the desktop look good and explains how clutter also eats into your disk space.
Every menu name and shortcut below follows the Finder in current versions of macOS. Pick the tips that fit how you work, and start with the first one.
Why a Messy Desktop Costs More Than Time
The obvious cost is attention. Icons cover your wallpaper, similar names hide the file you want, and every search starts with scrolling. The less obvious cost is storage. Files on the desktop take up exactly as much room as files in any other folder, and the desktop collects the heaviest kinds: screen recordings, screenshots, downloaded disk images, exported videos and extra copies of the same document.
That is why organizing and cleaning go together. Sorting tells you what you have, and once it is sorted, the oversized and duplicate items are easy to spot and remove.

1. Start With a Simple Folder Structure
Before you use any clever feature, decide where things live. A short list of top-level folders beats a clever system you abandon after a week. For most people four or five folders are enough, for example Work, Personal, Projects, Money and Archive, kept inside your Documents folder.
Treat the desktop as a temporary workbench, not a filing cabinet. It holds what you are working on right now, and everything else gets a home.
- Open Finder and go to your Documents folder.
- Press Shift-Command-N to create a new folder and type its name.
- Repeat for each top-level area of your life or work.
- On the desktop, select related files, Control-click one of them, then choose New Folder with Selection to group them in one step.
2. Give Folders Names You Will Understand
A name is only useful if you can read it six months later. Avoid Untitled Folder, New Folder 2 and Final Final. Say what is inside, and put the most important word first so similar folders sit next to each other.
If you want a folder to sort by date, start its name with the year and month in a fixed pattern, such as 2026-10 Tax Papers. Select an item and press Return to rename it quickly.
- Be specific: Client Invoices beats Stuff.
- Use one pattern for dates, for example year, month, day.
- Skip characters that confuse people and apps, such as slashes and colons.
- Keep names short enough to read in a narrow window.
3. Use Subfolders Instead of Endless Piles
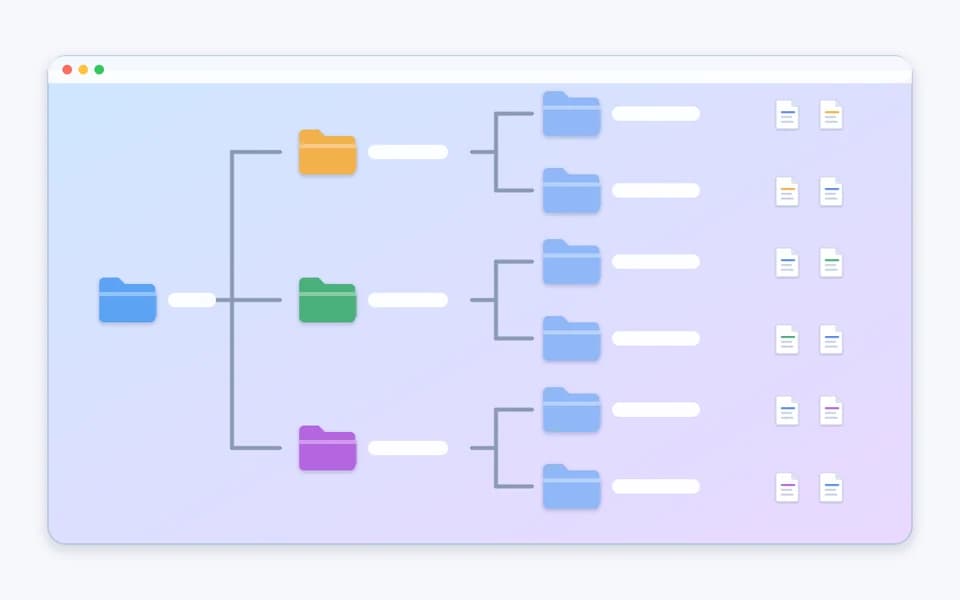
When a folder holds more than a few dozen items, split it. A folder called Projects can hold one subfolder per project, and each of those can hold Drafts, Final and Assets. Two or three levels usually stay easy to navigate. Deeper than that, you spend more time clicking than finding.
In a Finder window, List view shows subfolders with small triangles, so you can expand and collapse them without opening each one.
4. Add Color Tags to Find Things Faster
Tags are labels you attach to files and folders. They do not move or copy anything, so one file can carry several tags and still sit in its normal folder. Use them for status or priority across folders, such as red for urgent, green for done and blue for waiting.
Apple notes that tags work with files stored on your Mac and in iCloud. Keep the set small, because a dozen colors stops meaning anything.
- Select a file or folder on the desktop or in a Finder window.
- Open the File menu, or Control-click the item, then choose a color above Tags.
- To tag faster, select the item and press Control-1 through Control-7 for your favorite tags.
- To see everything with one tag, click that tag in the Finder sidebar.
- To rename a tag or change its color, choose Finder > Settings and click Tags.

5. Use Aliases Instead of Copies
Sometimes you want one file in two places, such as a report that belongs in its project folder but that you also open daily from the desktop. Do not duplicate it. Make an alias, a small pointer that opens the original when you double-click it. You can make as many aliases as you like, and they take almost no space.
Because an alias is only a pointer, removing it does not remove the original. That makes it a safe way to keep shortcuts without creating a second copy that quietly goes out of date.
- Select the original file, folder, app or disk.
- Choose File > Make Alias.
- Drag the alias to the desktop or to another folder.
- Or hold Option-Command while you drag the original to create an alias and move it in one step.
For folders you open all day, drag them to the right side of the Dock. The items in the Finder sidebar and the Dock work like aliases too.
6. Let Desktop Stacks Sort Files for You
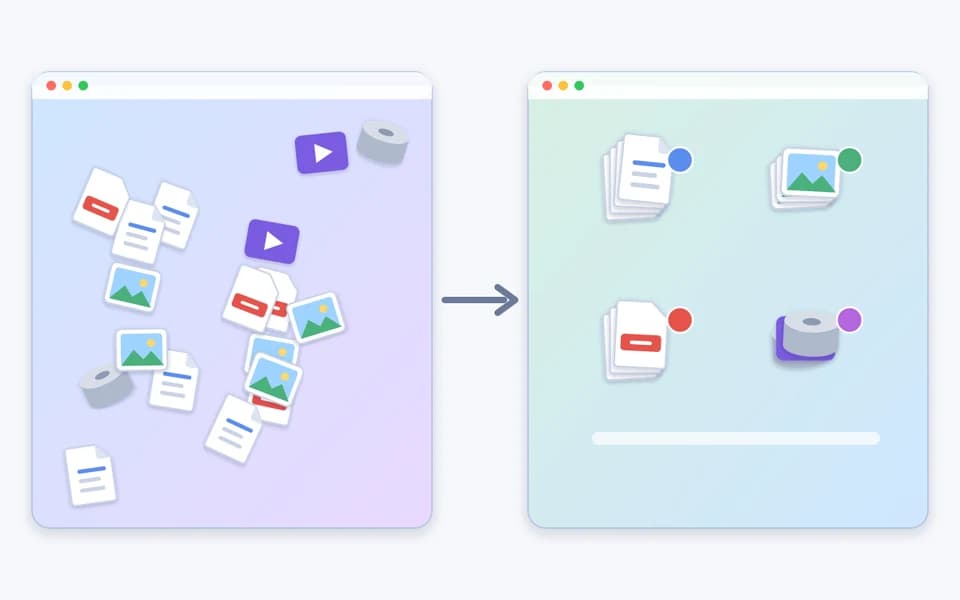
Stacks are the fastest way to calm a crowded desktop. They group files into tidy piles, and new files join the right pile automatically. You can group by kind, so images, PDFs and documents each get a stack, by date, or by tag. Grouping by tag works nicely with the colors from tip four.
Stacks change how the desktop looks, not where files are stored. Turn them off and everything is still on the desktop.
- Click the desktop, then choose View > Use Stacks, or press Control-Command-0.
- Choose View > Group Stacks By, then pick Kind, a date option, or Tags.
- Click a stack to expand it, then double-click an item to open it. Click the Down Arrow icon to collapse it.
- Choose View > Show View Options to change icon size, grid spacing, label position and the extra information shown.
You can also Control-click the desktop to reach Use Stacks, Group Stacks By and Show View Options.
7. Clean Up Regularly and Delete What You Do Not Need
Organizing does not last without a routine. Pick one day a week, set a ten-minute reminder, and work through the desktop and your Downloads folder. Move finished work into its folder, then delete the rest.
Look for the usual suspects: old screenshots, screen recordings you already shared, installers you no longer need after setting up an app, and copies of files that exist elsewhere. Deleted items stay in the Trash and still use disk space until you empty it.
- Move files you want to keep into the right folders.
- Drag clearly useless items to the Trash.
- Choose Finder > Empty Trash to free the space.
- In Finder > Settings > Advanced, you can turn on removing items from the Trash after 30 days.
Make Your Desktop Look Good Too
A tidy desktop is easier to enjoy when it also looks calm. These small touches take a few minutes.
- Pick a quiet wallpaper in System Settings > Wallpaper, so icon labels stay readable.
- Click the desktop and choose View > Clean Up By to line icons up neatly, or View > Show View Options to adjust icon size and grid spacing.
- In Finder > Settings > General, choose which items appear on the desktop, such as hard disks and external disks.
- Press Shift-Command-5, open Options, and choose a folder other than the desktop for new screenshots.
- Keep apps in the Dock and use the desktop only for the few files you are working on.
Finding the Heavy Files Behind the Clutter
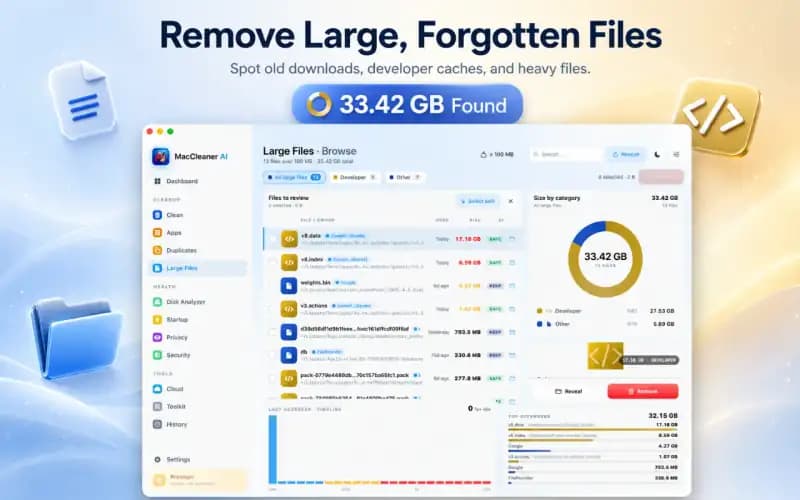
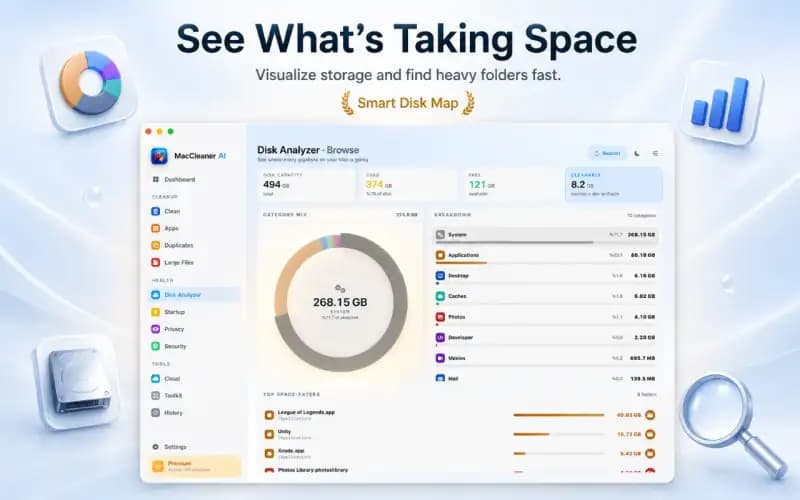
Organizing shows you what you have, but it does not tell you which files are big. Smart Cleaner AI: Disk Clean adds a large file finder, a visual disk analyzer and a duplicate files cleaner, so you can see the biggest items on your Mac and review them one by one. Its app review and uninstaller let you look through installed apps and remove the ones you no longer need.
It runs on your Mac, and you decide what stays. Use it after your weekly cleanup to spot the screen recordings, disk images and duplicate copies that add up, then remove only what you are sure about.
Where to go next: the related guides below explain how to find large files on your Mac and what fills your disk, which are the natural follow-ups to a tidy desktop.
Organize Your Mac Desktop in Four Steps
- 1
Create a few clear folders
Set up four or five top-level folders in Documents and give them names you will still understand later.
- 2
Label and link
Add color tags for status and use aliases when a file needs to appear in two places.
- 3
Turn on Stacks
Use Stacks and Group Stacks By to keep the desktop tidy while new files arrive.
- 4
Clean weekly
Spend ten minutes each week filing, deleting and emptying the Trash to get disk space back.

See What Is Filling Your Mac
Download Smart Cleaner AI: Disk Clean free from the App Store to review large files, duplicates and installed apps. It scans locally and nothing is removed until you approve it. Requires macOS 14.6 or later.

Frequently asked questions
How do I organize my Mac desktop?▼
Start with a few top-level folders in Documents, give them clear names and move finished files into them. Then turn on Stacks with View > Use Stacks, add color tags for status, and clean up once a week.
What are Desktop Stacks on Mac, and how do I turn them on?▼
Stacks group files on your desktop into tidy piles, and new files join the right pile automatically. Click the desktop, choose View > Use Stacks or press Control-Command-0, then use View > Group Stacks By to group by kind, date or tags.
Do color tags move or copy my files?▼
No. A tag is only a label. The file stays in its folder, and you can give it several tags. Click a tag in the Finder sidebar to see every item that carries it.
What is the difference between an alias and a copy?▼
An alias is a small pointer that opens the original file when you double-click it. A copy is a second file that uses its own disk space and can drift out of date. Removing an alias leaves the original untouched.
Do files on my desktop use disk space?▼
Yes. Desktop files use the same storage as files in any other folder. Large screen recordings, disk images and duplicate copies add up quickly, so a clean desktop often frees space as well.
Can Smart Cleaner AI organize my desktop for me?▼
No. Smart Cleaner AI: Disk Clean does not rearrange your files. It helps you find large files, duplicates and other storage users so you can review them. Use folders, tags and Stacks to organize, and use the app to see what is taking up space.
How often should I clean my desktop?▼
A ten-minute pass once a week is enough for most people. If you take many screenshots or record your screen, a quick check every few days keeps it from piling up again.
Sources
Related guides
· 9 min read
How to Find Large Files on Mac & Free Up Space Safely (2026)
Learn how to find and delete large files on Mac. Use Finder filters, macOS Storage Manager, and Smart Cleaner AI to locate hidden space hogs quickly.

· 9 min read
Mac Storage Full? Find What Fills Your Disk
See why your Mac storage is full, find large files and System Data, and clean up safely with practical steps. Start reclaiming disk space today.
· 9 min read
What Is Taking Up Space on My Mac? Breakdown & Safe Fixes (2026)
Discover what is taking up space on your Mac. Learn how to inspect System Data, user caches, hidden local snapshots, and app leftovers safely.
Ready when you are
Download Smart Cleaner AI for Mac
Analyze Mac storage, safely clear system data caches, find large files, and remove app leftovers with on-device controls.
By using Smart Cleaner AI, you agree to our Terms of Use and Privacy Policy.