How to Compress Videos on Mac and Free Up Storage
Compress videos on Mac with Photos, QuickTime Player, Finder or Vision AI. Compare quality options, keep your originals safe and free up storage.

Videos are usually the largest files on a Mac. A few minutes of 4K footage from an iPhone can take several gigabytes, and screen recordings grow quickly too. Compressing them, which mostly means saving them at a lower resolution or with a more efficient codec, is one of the fastest ways to get storage back without deleting the memories themselves.
macOS already includes three ways to do this: the Photos app, QuickTime Player and a Finder action. This guide explains each one, what it changes, and where it can catch you out, then shows how Vision AI - Photo Cleaner, our Mac app, handles compression while keeping your originals safe.
Before You Start: Find the Videos Worth Compressing
Compressing every video is slow and rarely necessary. Start with the files that use the most space. In Finder, open a folder, switch to list view and sort by Size. In Photos, the Media Types section in the sidebar lists Videos, which you can sort and review. A handful of long 4K clips or screen recordings often accounts for most of the space.
Decide where each video will be watched. A clip you only view on a phone or laptop rarely needs 4K. Footage you may edit later, or a once-in-a-lifetime event, is often worth keeping at full quality and moving to an external drive instead.
Method 1: Export a Smaller Copy From Photos
If the video is in your Photos library, the Photos app can export it at a lower quality. Apple's Photos guide lists standard definition (480p), 720p, 1080p and 4K as Movie Quality options.
- Open the Photos app and select the videos you want to compress.
- Choose File > Export > Export Videos.
- Open the Movie Quality menu and choose 1080p or 720p.
- Click Export and choose a folder for the smaller copies.
Exporting creates new files and leaves the originals in your library. If you want the space back, import the smaller copy, check it, and then delete the original from Photos. With iCloud Photos turned on, deleting from your library also removes the item from your other devices, so be sure the copy is the one you want to keep.
Method 2: Use QuickTime Player's Export As
QuickTime Player is the quickest option for a single file. According to Apple's QuickTime Player guide, File > Export As offers 1080p (H.264 or HEVC, up to 1920 x 1080), 720p (H.264, up to 1280 x 720) and 480p (H.264, up to 640 x 480). Resolutions larger than your video are dimmed.
- Open the video in QuickTime Player.
- Choose File > Export As, then choose 1080p, 720p or 480p.
- For 1080p, choose HEVC if you want a smaller file and your devices support it.
- Name the file, pick a location and click Save.
QuickTime Player's Export As saves a .mov file, so use another tool if a website or app requires MP4.
Method 3: Encode Several Files From Finder
Finder has a built-in action for batch work. Apple's QuickTime Player guide describes it: Control-click one or more video files and choose Encode Selected Video Files, then pick a resolution setting. If you do not see it, look under Services in the Control-click menu or in the Finder menu, and check that the service is enabled in System Settings > Keyboard > Keyboard Shortcuts > Services.
This action is handy for a folder of screen recordings. Be aware of two limits reported by users in Apple's community forums: on some systems the action no longer appears or fails to run, and re-encoded iPhone videos can lose their original date and location information. Check one file before you process a whole folder.
Method 4: Compress With Vision AI
Vision AI - Photo Cleaner includes a Video Compressor for Mac. It lets you choose quality and resolution options, then either save compressed copies to a separate folder or replace the originals, but only after the new video passes a safety check. Supported older video formats can be converted with a compatibility engine that runs on your Mac.
The same app lists your largest videos and finds duplicate and similar videos, so you can remove extra copies first and compress only what remains. Analysis runs on your Mac and your videos are not uploaded to an external server. Vision AI requires macOS 14.6 or later and is free to download from the Mac App Store; see the listing for current purchase details.
Which Method Should You Use?
Each option fits a different situation:
- One video in your Photos library: export it from Photos at 1080p or 720p.
- One video file in a folder: use QuickTime Player's Export As.
- A folder of screen recordings: try Finder's Encode Selected Video Files, after testing one file.
- Many videos across Photos and folders, with duplicates mixed in: use Vision AI to find duplicates and the largest files, then compress what remains.
- Footage you may edit later: keep the original and move it to an external drive instead of compressing.
Tips to Avoid Losing Quality or Data
Compression is not free. A lower resolution removes detail that cannot be restored later, so never delete an original until you have watched the new file all the way through on the screen you normally use.
- Keep a backup, such as Time Machine, before replacing originals.
- Try 1080p before 720p; for most phone and laptop viewing it looks the same as 4K.
- Prefer HEVC when your devices support it, since it usually produces smaller files at similar quality.
- Do not expect every file to shrink. Recent iPhone videos are often already HEVC, so re-encoding at the same resolution can save little or even produce a larger file; lowering the resolution is what reliably saves space. As a rough illustration, not a measured result, a 4K clip exported at 1080p often ends up a fraction of its original size, while a 1080p HEVC clip exported again at 1080p may barely change.
- Check that the date and location are still correct after re-encoding iPhone videos.
- Empty the Trash or Recently Deleted only after you are sure, because the space is not freed until then.
Compress a Video on Mac Safely
- 1
Find the largest videos
Sort a Finder folder by size or review Videos in Photos to find the files worth compressing.
- 2
Export a smaller copy
Use Photos, QuickTime Player or Finder to save the video at 1080p or 720p.
- 3
Check the new file
Watch the copy through and confirm quality, sound, date and location.
- 4
Remove the original
Delete the original only after checking the copy, then empty the Trash or Recently Deleted.

Find and Compress Large Videos on Your Mac
Vision AI - Photo Cleaner shows your largest and duplicate videos, compresses them with quality and resolution options, and keeps originals until the new file passes a safety check.

Frequently asked questions
How do I compress a video on Mac for free?▼
Open it in QuickTime Player and choose File > Export As, then pick 1080p, 720p or 480p. You can also export videos at a lower Movie Quality from the Photos app, or use Finder's Encode Selected Video Files action for several files.
Can QuickTime Player export MP4?▼
QuickTime Player's Export As saves .mov files. If you need MP4, use another app.
Does compressing a video reduce quality?▼
Usually a little. Lowering the resolution removes detail, but 1080p often looks the same as 4K on a phone or laptop. Keep the original until you have checked the new file.
Why did my compressed video lose its date and location?▼
Some re-encoding methods, including Finder's Encode Selected Video Files action according to user reports, do not keep all original metadata. Check one file first and keep the original if the date and location matter.
How can I compress many videos at once on Mac?▼
Finder's Encode Selected Video Files action works on several files at once. Vision AI - Photo Cleaner can also compress videos and either save copies to a separate folder or replace originals after a safety check.
Sources
Related guides

· 10 min read
How to Free Up Mac Storage: Clean Duplicate Photos & Videos with On-Device AI
Complete guide to free up Mac and MacBook Pro storage: clean duplicate photos, similar shots, blurry photos, Retina screenshots, Live Photos, and large videos.
· 9 min read
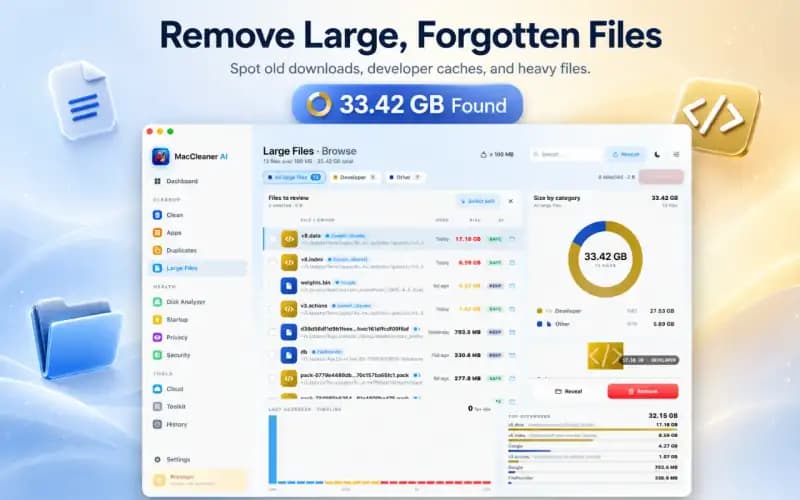
How to Find Large Files on Mac & Free Up Space Safely (2026)
Learn how to find and delete large files on Mac. Use Finder filters, macOS Storage Manager, and Smart Cleaner AI to locate hidden space hogs quickly.
· 9 min read
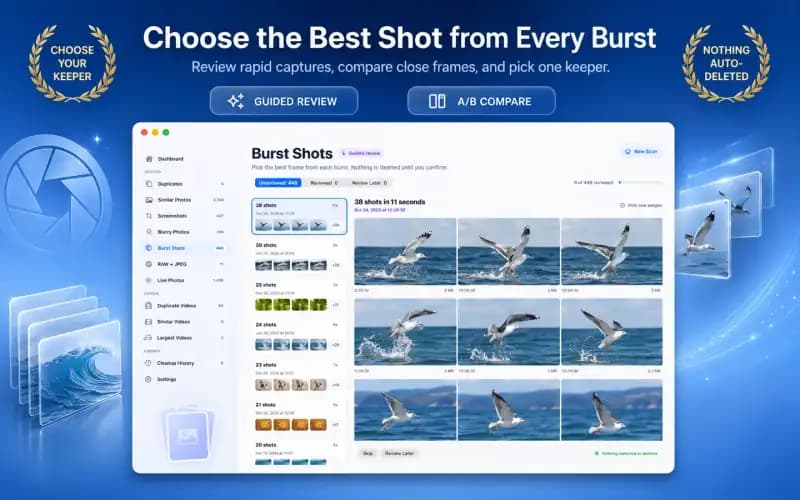
How to Clean Up Burst Photos on Mac & Keep the Best Frames (2026)
Learn how to clean up burst photos on Mac. Select peak action frames, expand burst stacks, and delete dozens of redundant shots to free up storage.
Ready when you are
Download Vision AI - Photo Cleaner for Mac
Find duplicate and similar photos, review large videos and compress videos locally on your Mac. Choose what to keep and confirm every cleanup.
By using Vision AI - Photo Cleaner, you agree to our Terms of Use and Privacy Policy.